
Once I finished making the front and back of my Maxwell bag it was time to make the sides.
There are pockets on the sides and you can use the tall side pieces to mark the pieced pockets for trimming.
I love the big dots and hated to cover them up with the pocket.


Then you sew all those layers together. I did some really simple straight lines to join them together.

You sew the sides with the pockets on to both ends of your bottom piece and these now look like a U.
The U is now sewn to the front and back.
My advice is to pin a lot, especially in the curve.
I also marked my 1/2 inch sewing line and sewed slowly thru the curve.

Ta Dah My outside bag is now assembled.


There where three layers to go through on the bottom . I recommend using an awl, it worked perfectly
and made just the right size hole.


I cut a one inch square , found the center and made a hole with my awl.


Now on to the inside. Same as the outside . two layers. one of fabric and one of soft and stable.
They are also quilted. Tough to see here. I just sewed with regular thread here. I chose a Cotton and Steel print for the lining. Love it.

Just like the outside of the bag, you sew the sides on to the bottom piece and make a U.
This is the outside of the bag place inside the lining. So right side to right side,
You are going to sew all along the top with a 1/2 inch seam.
There is a opening left in the lining bottom for turning.
This is very thick, pin well and go slowly. Match up those side seams.

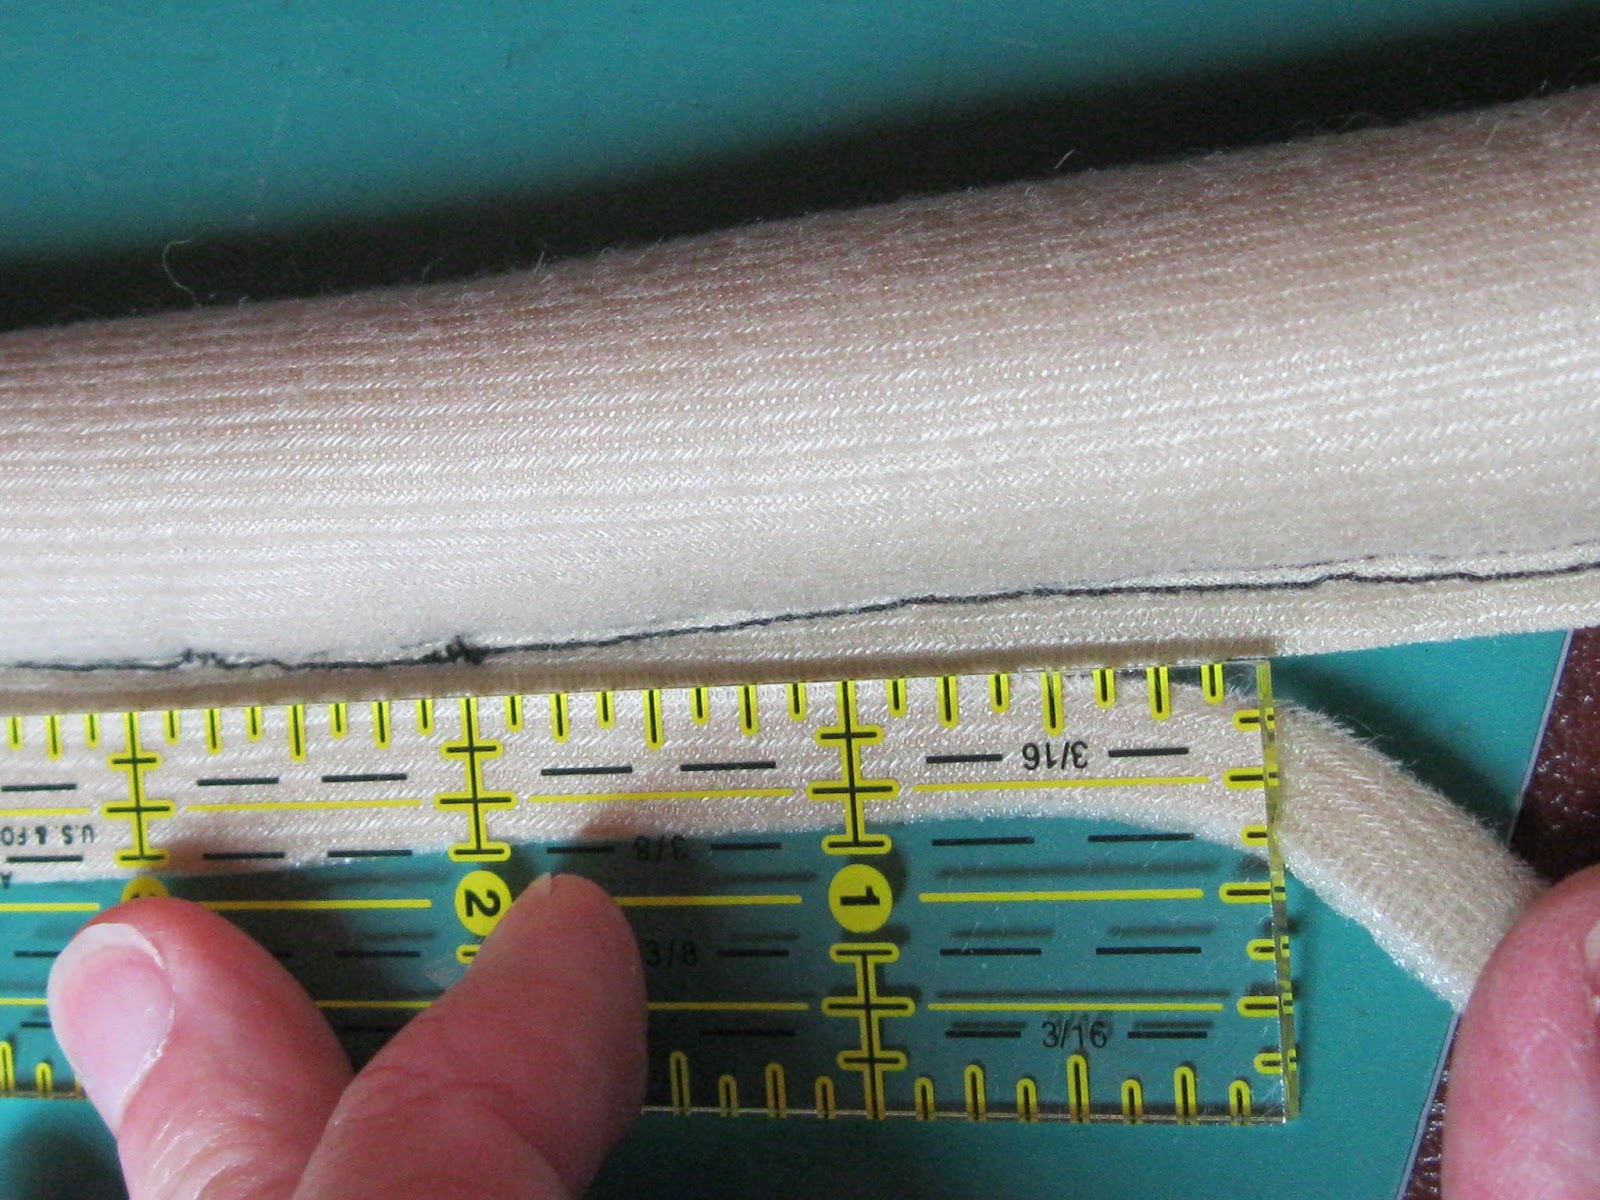
The handles are made by covering cording with the soft and stable. You will need a zipper foot here. You trim the soft and stable to an 1/8 of an inch. I like to use a little ruler , it made life a lot easier . I was able to cut it with the rotary cutter, carefully.
The handles are covered with a tube of fabric and you hand sew the cording together as shown in this picture.

I have tried to show and share with you some of the interesting parts of this pattern.
At times I was very frustrated and twice I had to check the abbeylanesquilts.com web page for corrections or additions. My advice is when you can't make sense of the directions , check out their web pages.
Both times I was really struggling there was information that cleared up the problems . (It' s not you, check the web page.)
Here is my finished bag . This takes a fair amount of time , but I still think it was one of the best new bag ideas at quilt market.

Thanks Le Ann
ReplyDeleteIt is even better in person.